My husband wanted to go camping over Labor Day weekend, but I wanted to stay home after the crazy month of August at our house. I thought about how I could get him to buy into the at home weekend....and meat smoking was my idea! We're not huge red meat eaters at our house, so the opportunity for him to smoke a large hunk of beef was appealing to him and made him "forget" about the camping expedition.
Now there are packages of smoked brisket in the freezer for us to last awhile. I do have to admit that I like this too; although I don't think I'll need to eat red meat for quite awhile after a couple of these sandwiches. After smelling smoking meat for a number of hours I do like a sandwich with the freshly smoked meat and barbeque sauce. He did a great job...every time he does this (usually Labor Day and Memorial Day weekends) he gets better at it.
I asked him to type out how he did this since I wasn't involved at all......and here...is our first guest blogger!
Smoked Beef Brisket
The Meat:
Fresh 8 to 12 pound beef brisket. Look for a good amount of marbling in the meat as well as a fat cap at least 1/4” thick covering one side. A good amount of marbling in the meat will keep if tender when finished.
The Rub:
Garlic Powder
Shore Lunch: Garlic & Pepper Grilling Rub (ours must be old because I can't find this online link at all..salt, pepper, garlic and dextrose).
Penzeys Spices:
BBQ3000Penzeys Spices:
Bangkok BlendPepper grinder: Tellicherry Black Pepper
Salt grinder: Mediterranean Sea Salt
The Hardware:
Cooler
Ice Pack
Plastic Wrap
Aluminum Foil
Smoker - Charcoal fired vertical water smoker
Mesquite Wood Chunks
Hickory Wood Chunks
Bucket – 2 gallon
Royal Oak Charcoal
Roasting Pan w/ Grate
Oven
Meat Thermometer
Electric Carving Knife
The Time Line:
T=0 hours - Organize the following: Meat, Rub Spices, Cooler, Frozen Ice Pack. Place the meat in the cooler, liberally sprinkle the meat with each rub spice on all sides. Rub these well into the meat evenly. Toss in the ice pack and close cooler. Let rest for 12 hours.
T = 8 hours – place equal parts of the wood chunks in the bucket and cover with water. Let soak.
T = 11 hours – Clean & Prep the smoker. I use a charcoal fired water smoker. Get a chimney full of charcoal lit and burned to fully gray. Make sure to use a hard charcoal like Royal Oak because the briquettes burn longer and hotter. Toss into the fire pan in the smoker. Fill the smoker water pan with boiling water (Tea kettle). Add several damp chunks of wood to the fire pan.
T = 12 hours – Remove the meat from the cooler and place on the top rack of the smoker - fat cap up. Close the smoker lid. Periodically watch the amount of smoke billowing out and as it dwindles add more damp wood chunks. About every hour. If needed add additional charcoal briquettes and possibly water. The water pan should not become dry.
T = 18 hours – After 6 hours in the smoker there probably will not be further flavor penetration so we finish the meat in the oven. Remove from the smoker and place in the roasting pan on grate. Cover the roasting pan with aluminum foil – tightly sealing the foil to the pan. Place in oven middle rack with temperature set to 200 F.
T = 24 to 26 hours – Open oven and check meat temperature. Stick the meat thermometer into the thickest part of the brisket. Target is 180 F. Keep periodic watch (hourly) until internal temperature reaches 180 F to 185 F. For an 8 lb brisket plan on 6 hours in the oven before bothering to check the temperature. It usually takes 6 to 8 hours to reach target. Larger briskets can take 11 to 12 hours in the oven. Once the meat is to the desired temperature, remove from the oven, fully wrap in plastic wrap (not Saran wrap – it leaves a funny taste – get the commercial stuff!) then fully wrap in aluminum foil. Place back into the cooler and allow to rest for several hours.
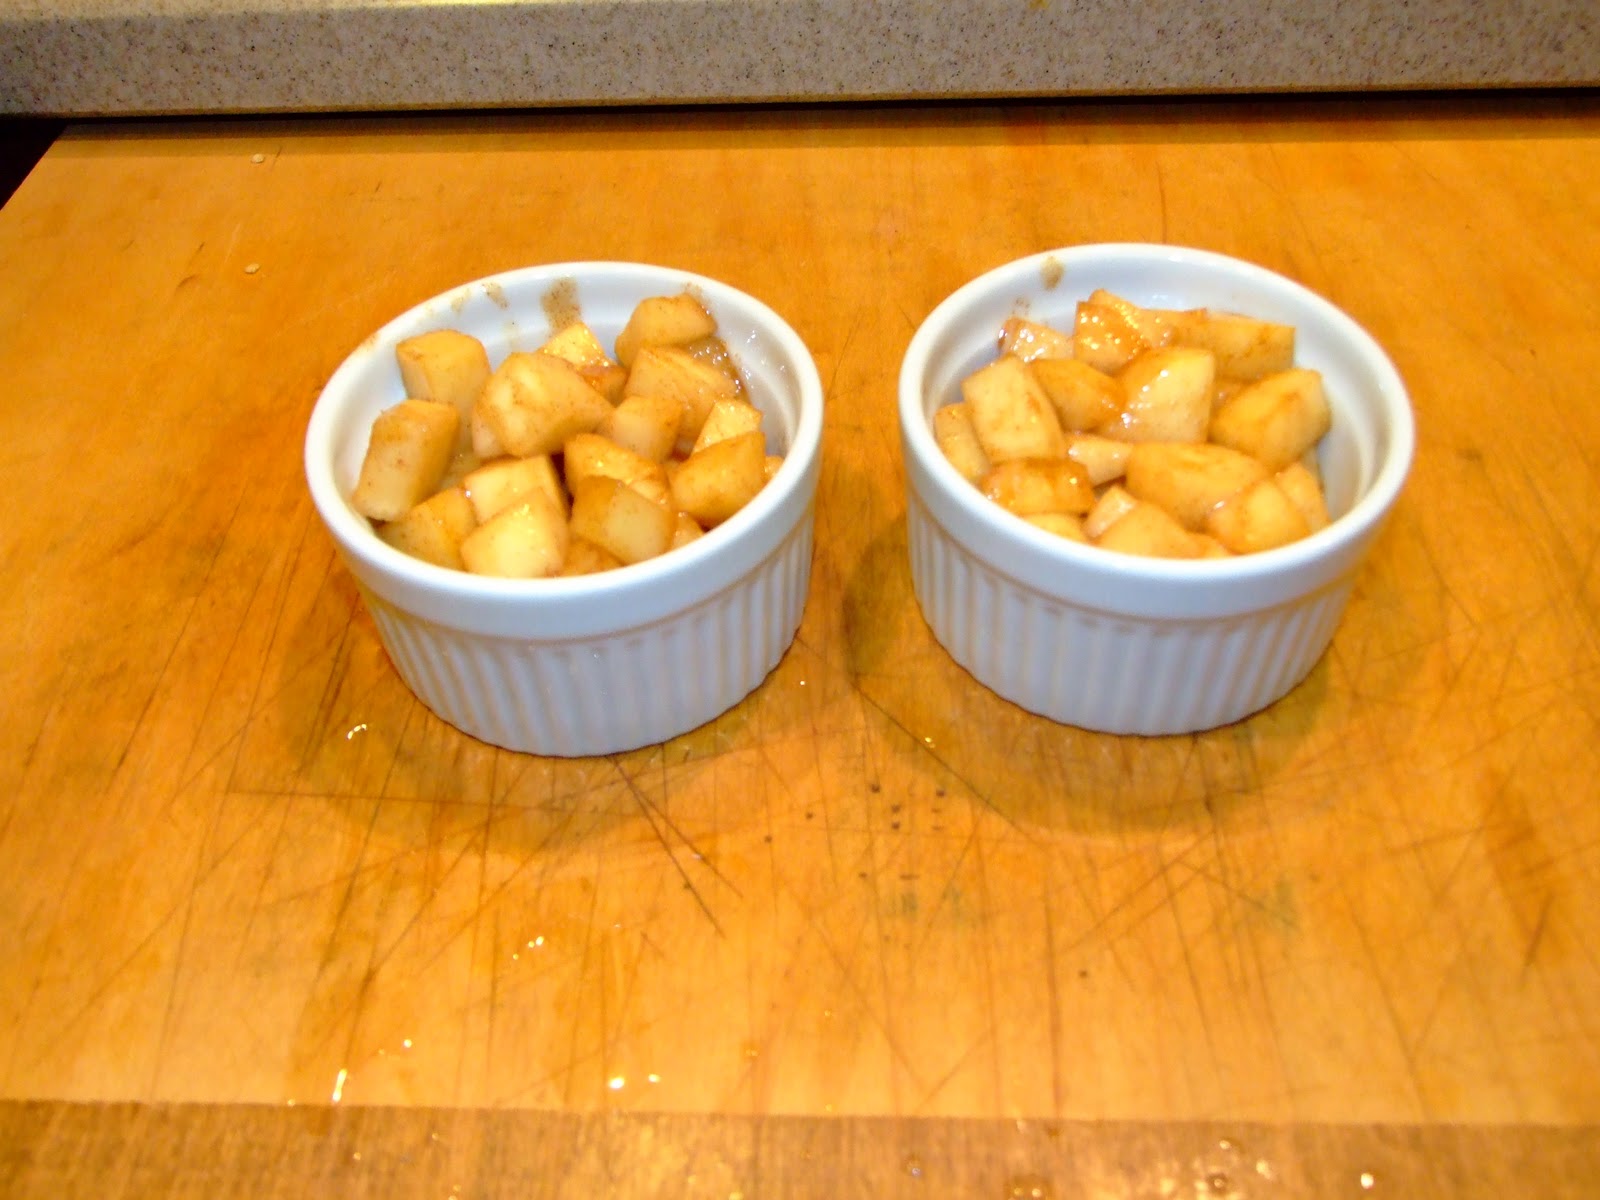
T = 30 hours – Remove the brisket from the cooler, unwrap and slice perpendicular to the meat grain. Serve with your favorite BBQ sauce, buns, pickles etc...
Now that you have read his process would you like to guess his job? The choices are engineer or engineer.


 Ingredients
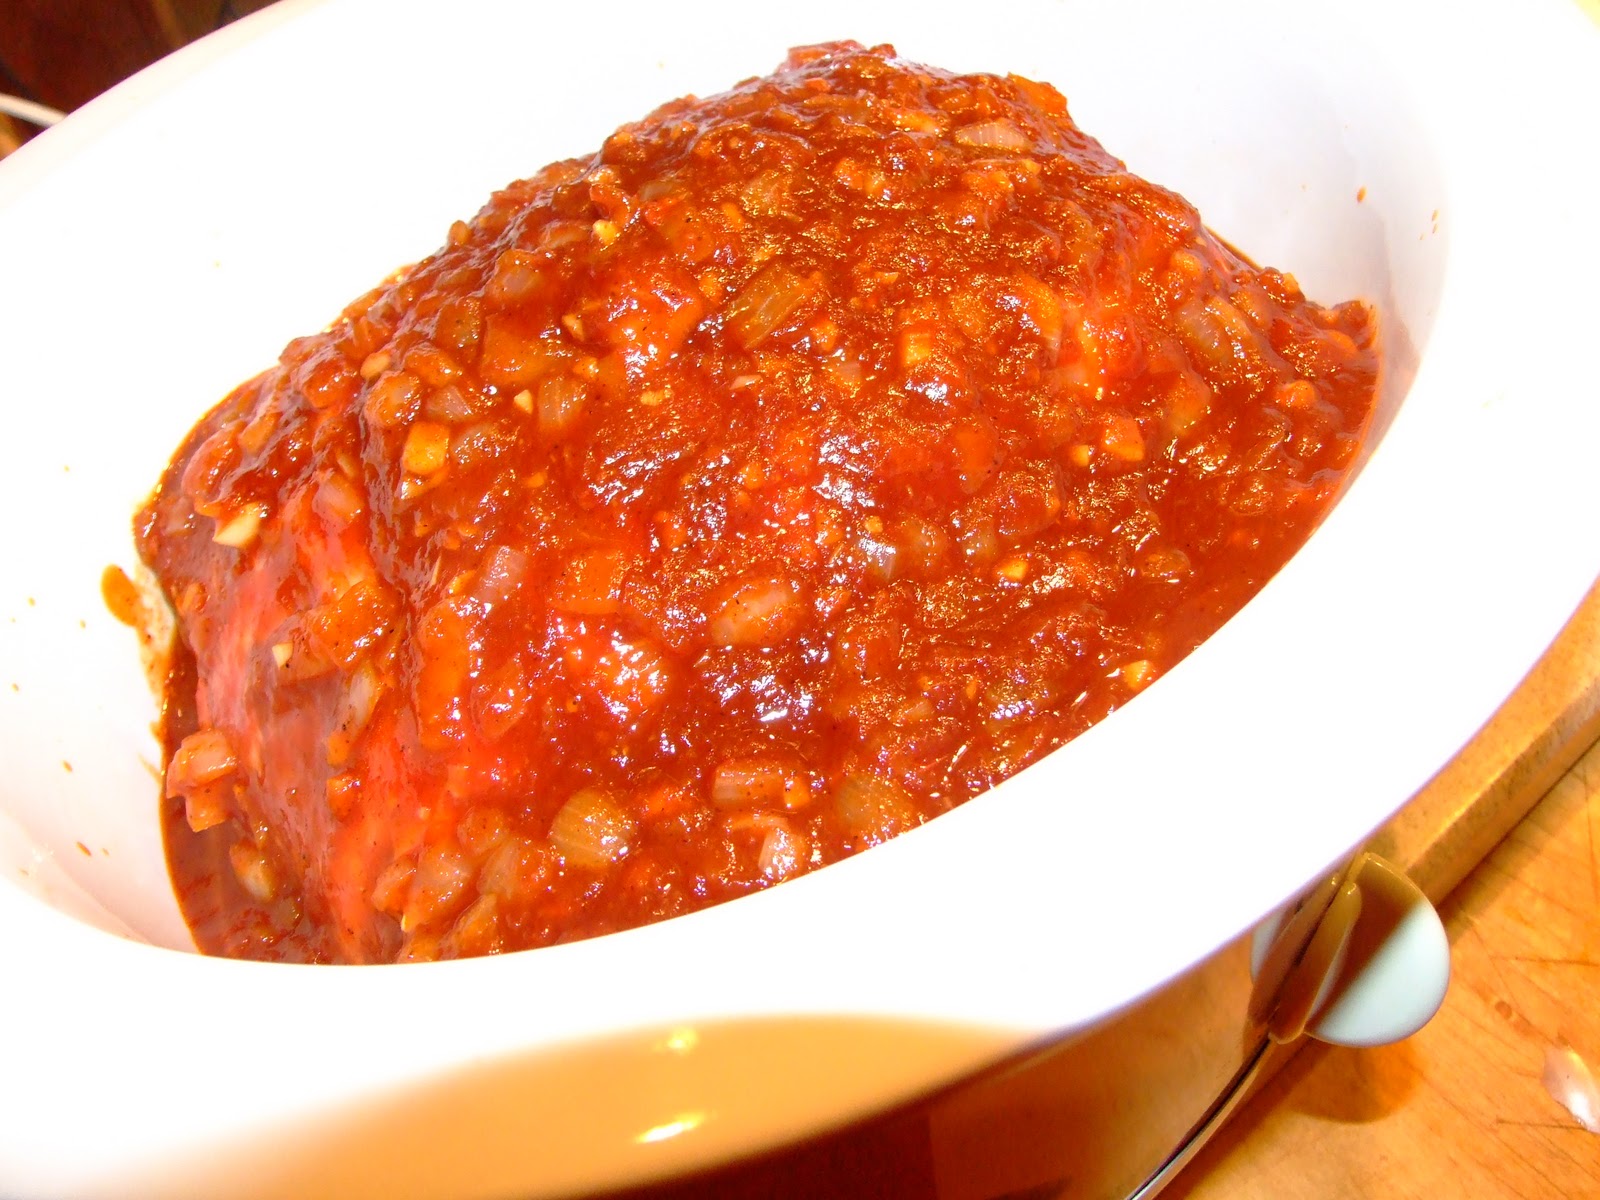 1/4 c brown sugar
  3 lb pork shoulder